Local Users Authentication Mode
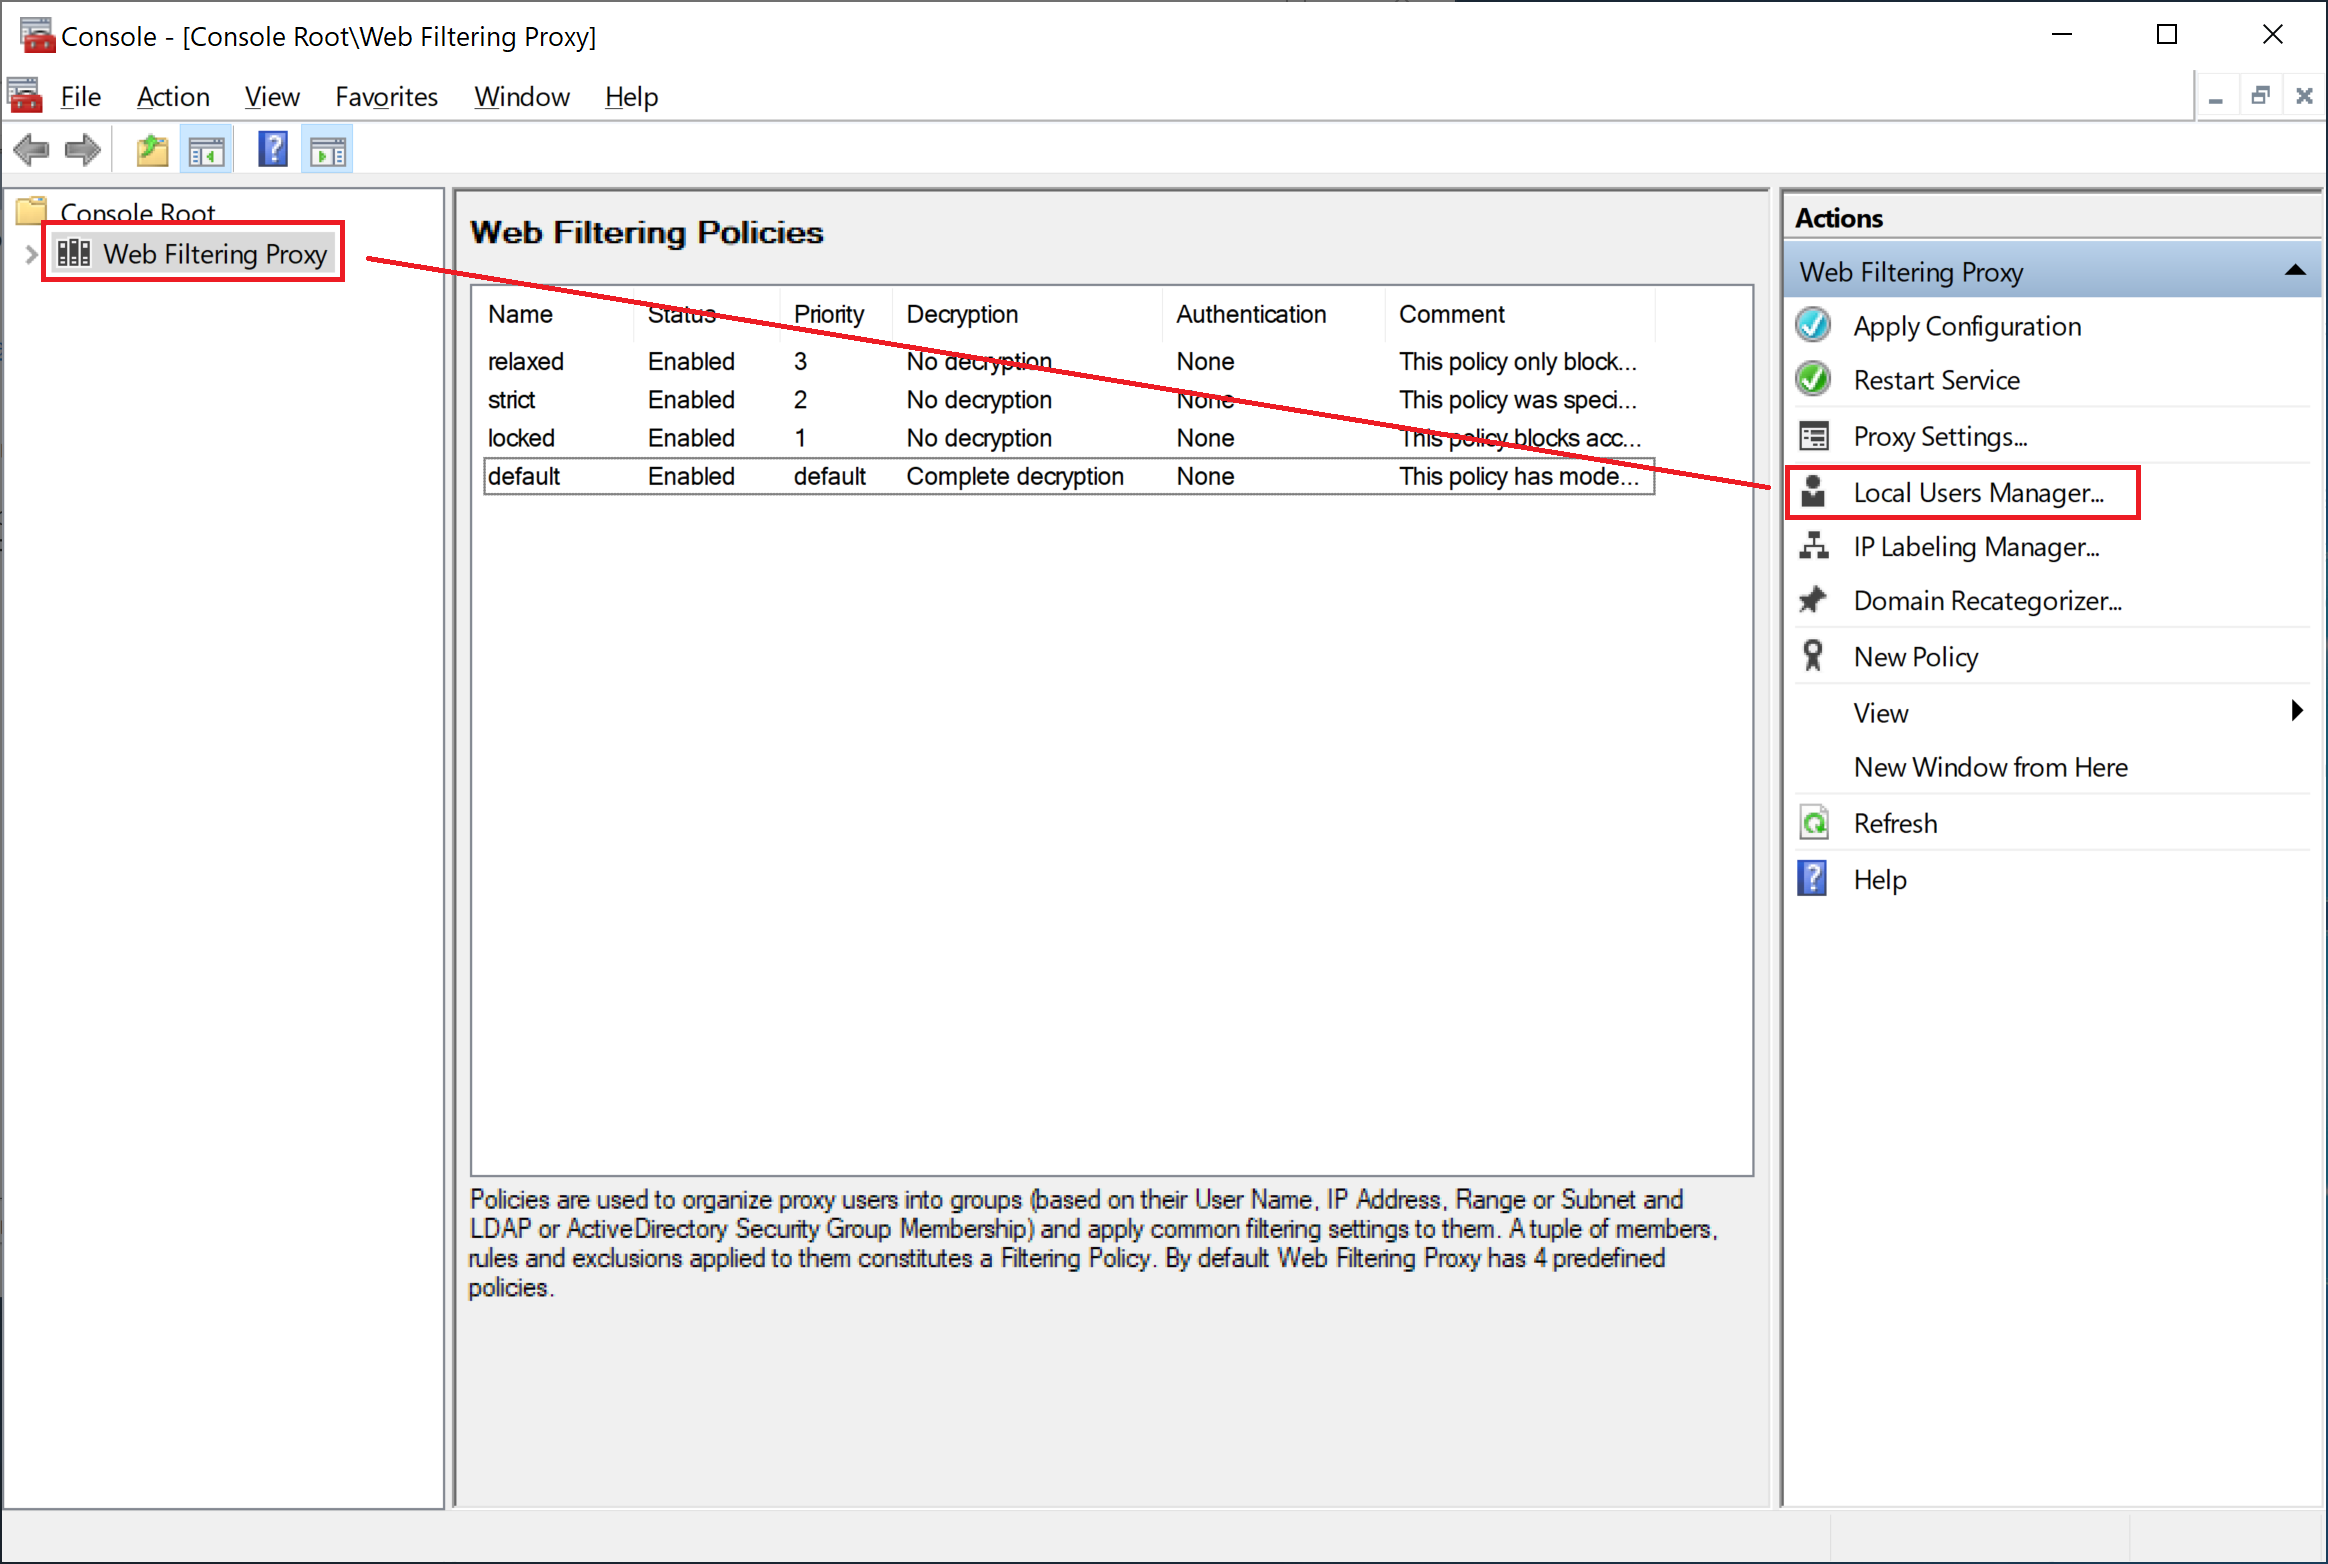
Another way to enforce the proxy authentication is to use the Local Users Authentication mode. This mode is actually a simple table of user names and passwords stored in the configuration file. The list of users can be managed in Web Filtering Proxy / Local Users Manager.
Managing Local Users
You can create new users, reset password for a user and remove the designated user by clicking Add User, Reset Password and Delete User as indicated on the following screenshots.
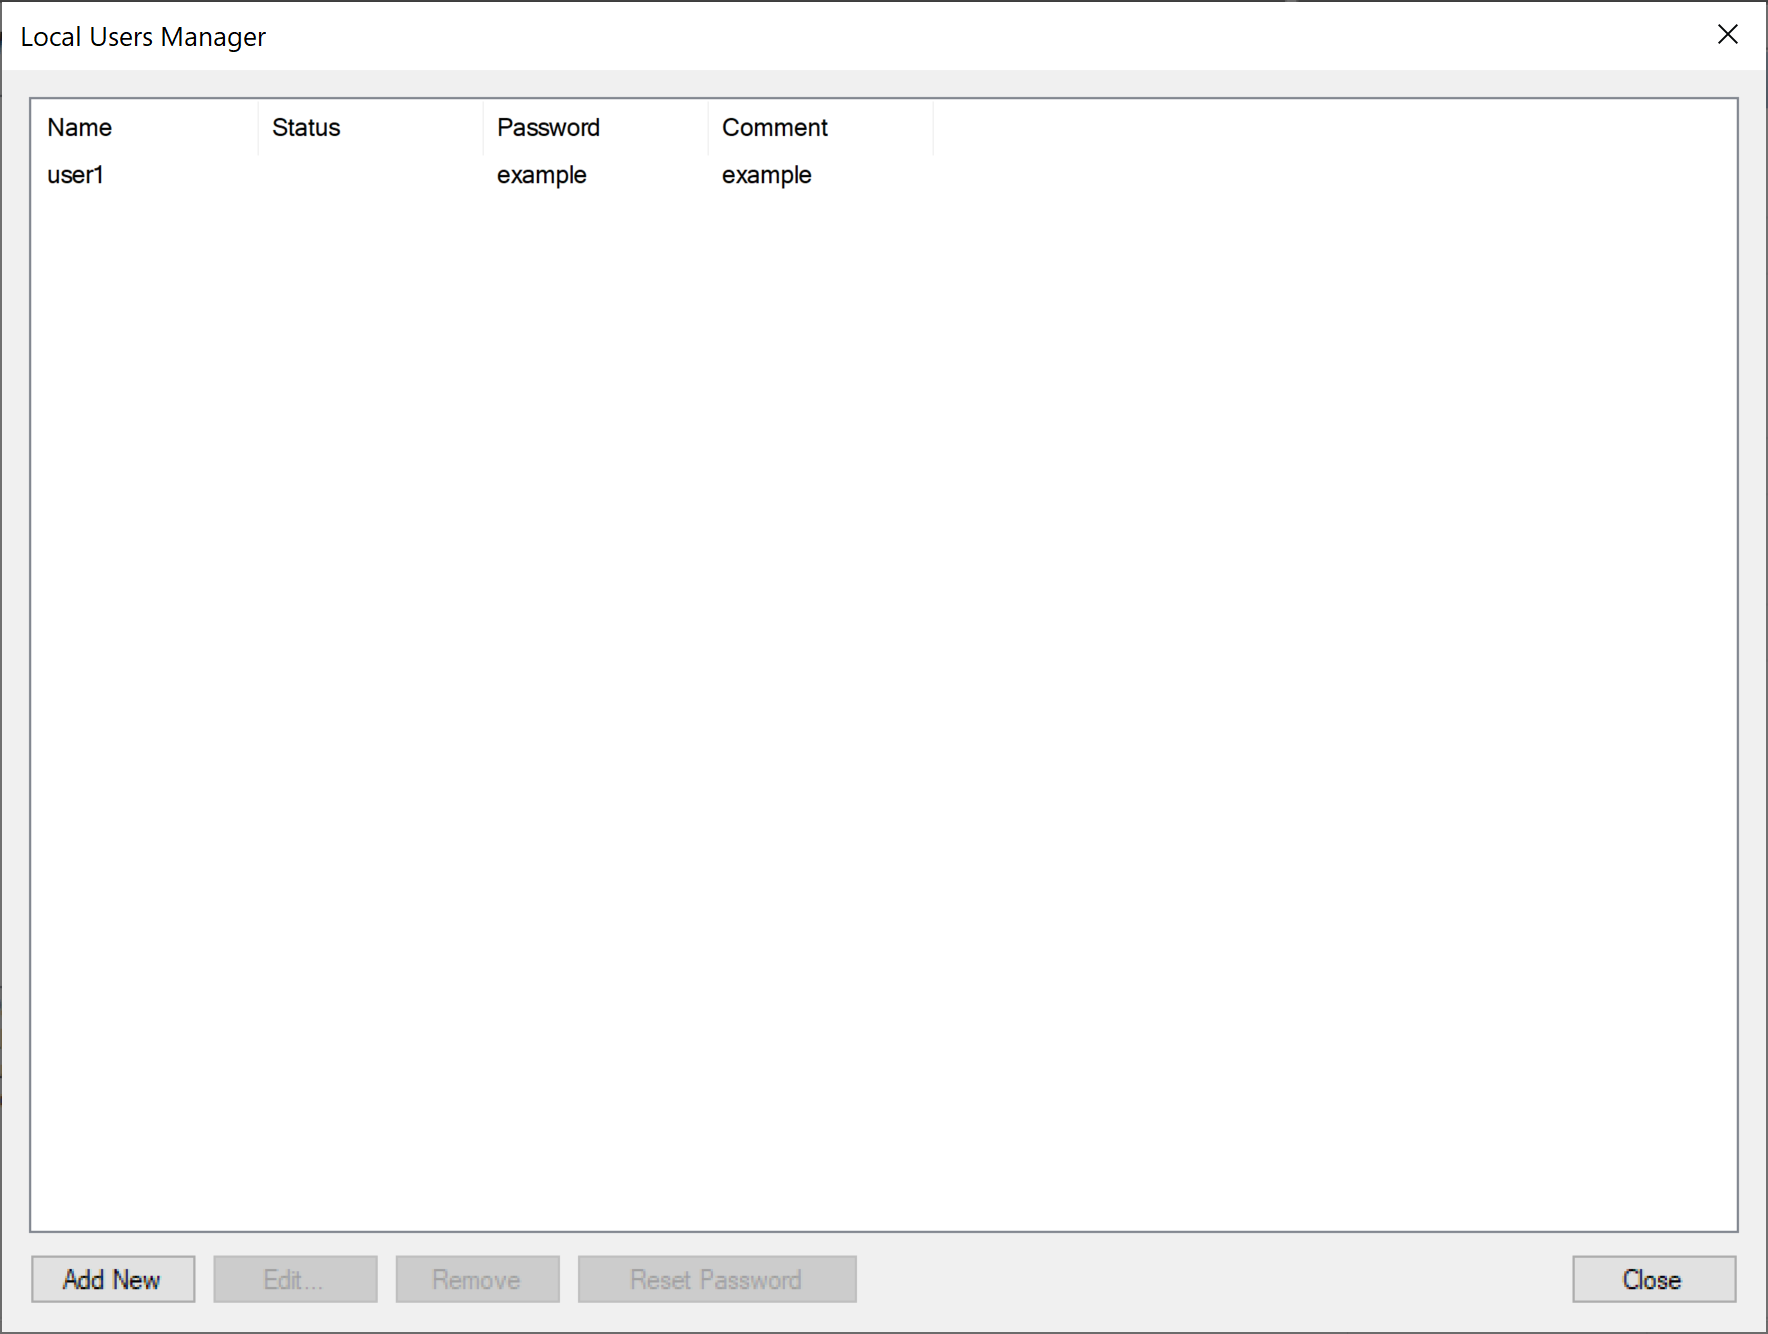
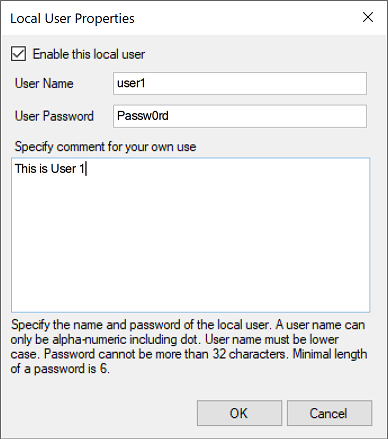
To add a new user, select the Add New button, fill in the user properties and click OK.
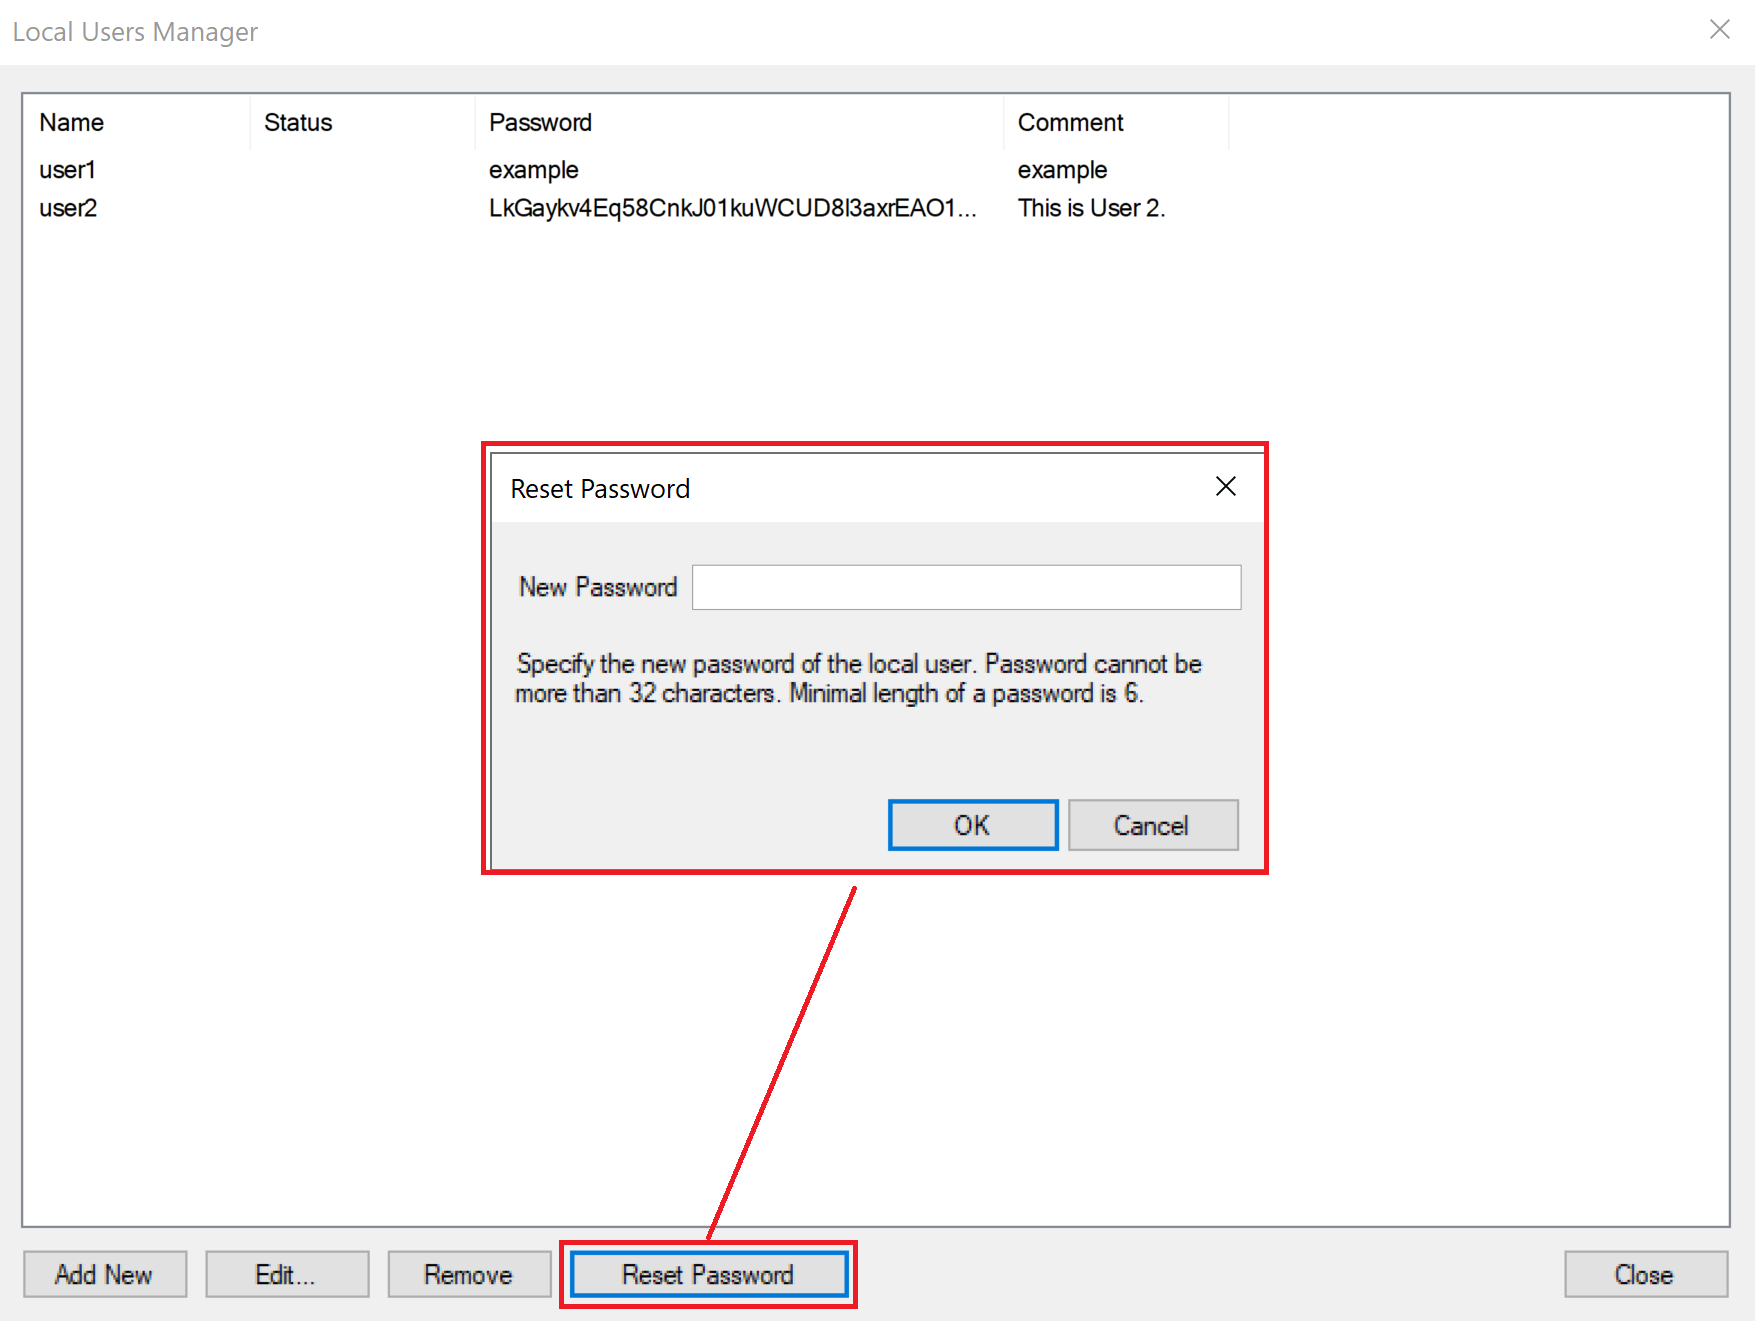
To reset the password of the existing user, click the Reset Password button.
To remove the users, select one or more users in the user list and click the Remove button.
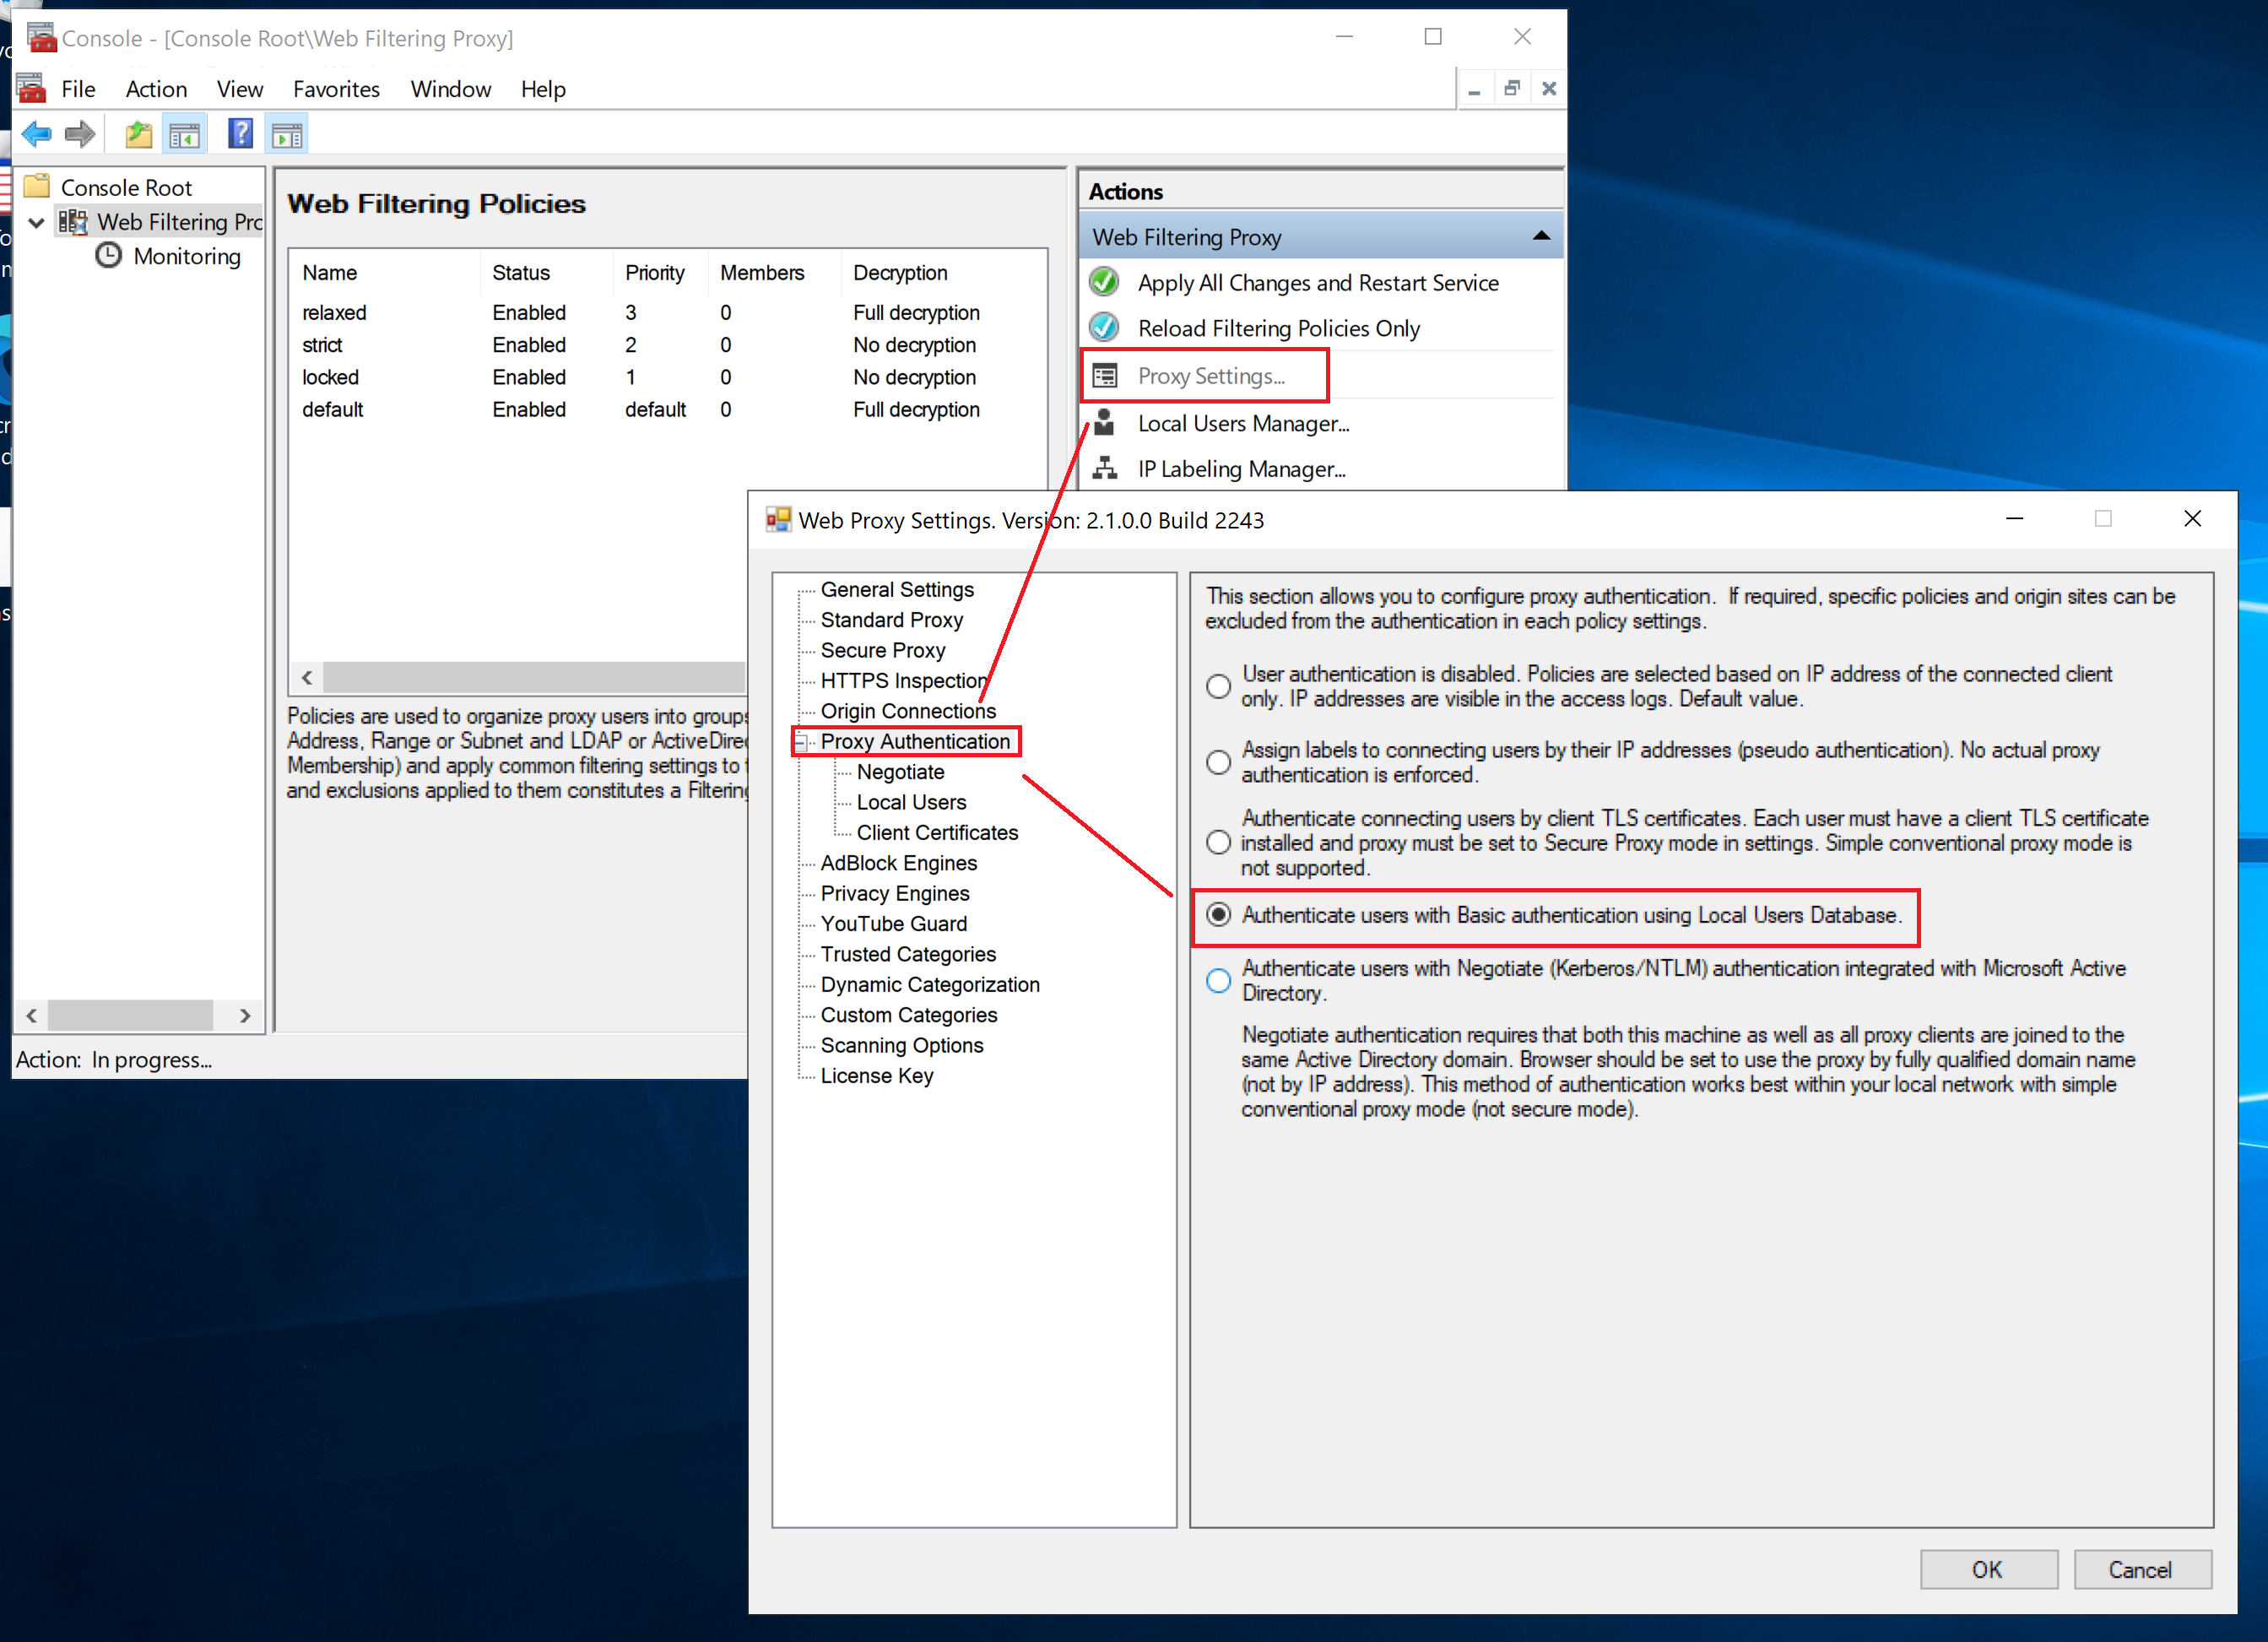
Enable Authentication in Proxy Settings
After configuring the user authentication backend, do not forget to actually enable user authentication in proxy settings. This can be done in Admin UI / Proxy Settings / Authentication.
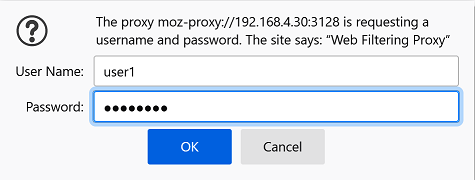
Presentation in Browser
After proxy authentication is enabled, your browser will show a pop-up box when accessing the Internet. Type there the user name and password you have created earlier to continue.
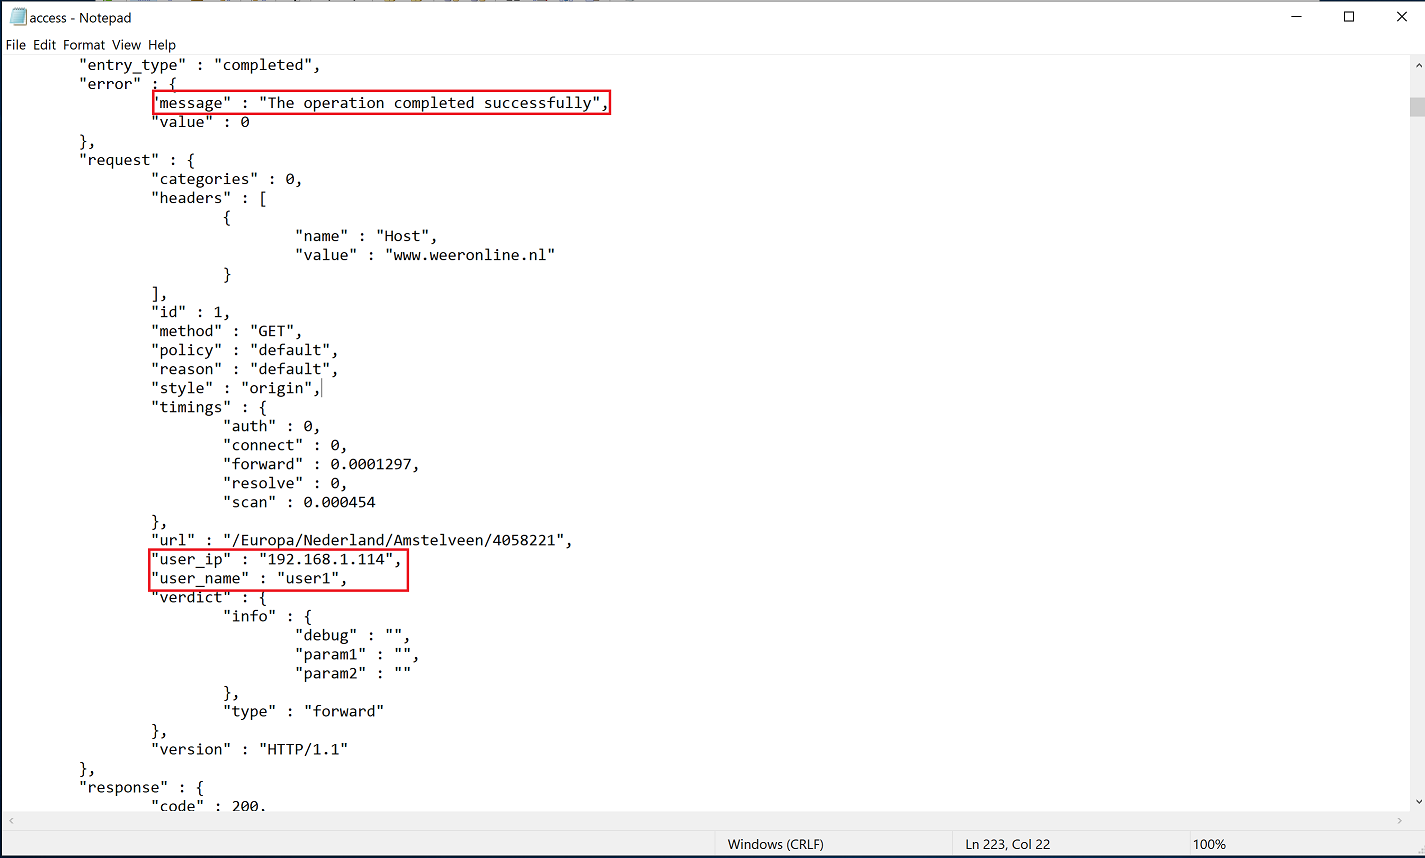
The access log of the application will also show the user name in monitoring records.
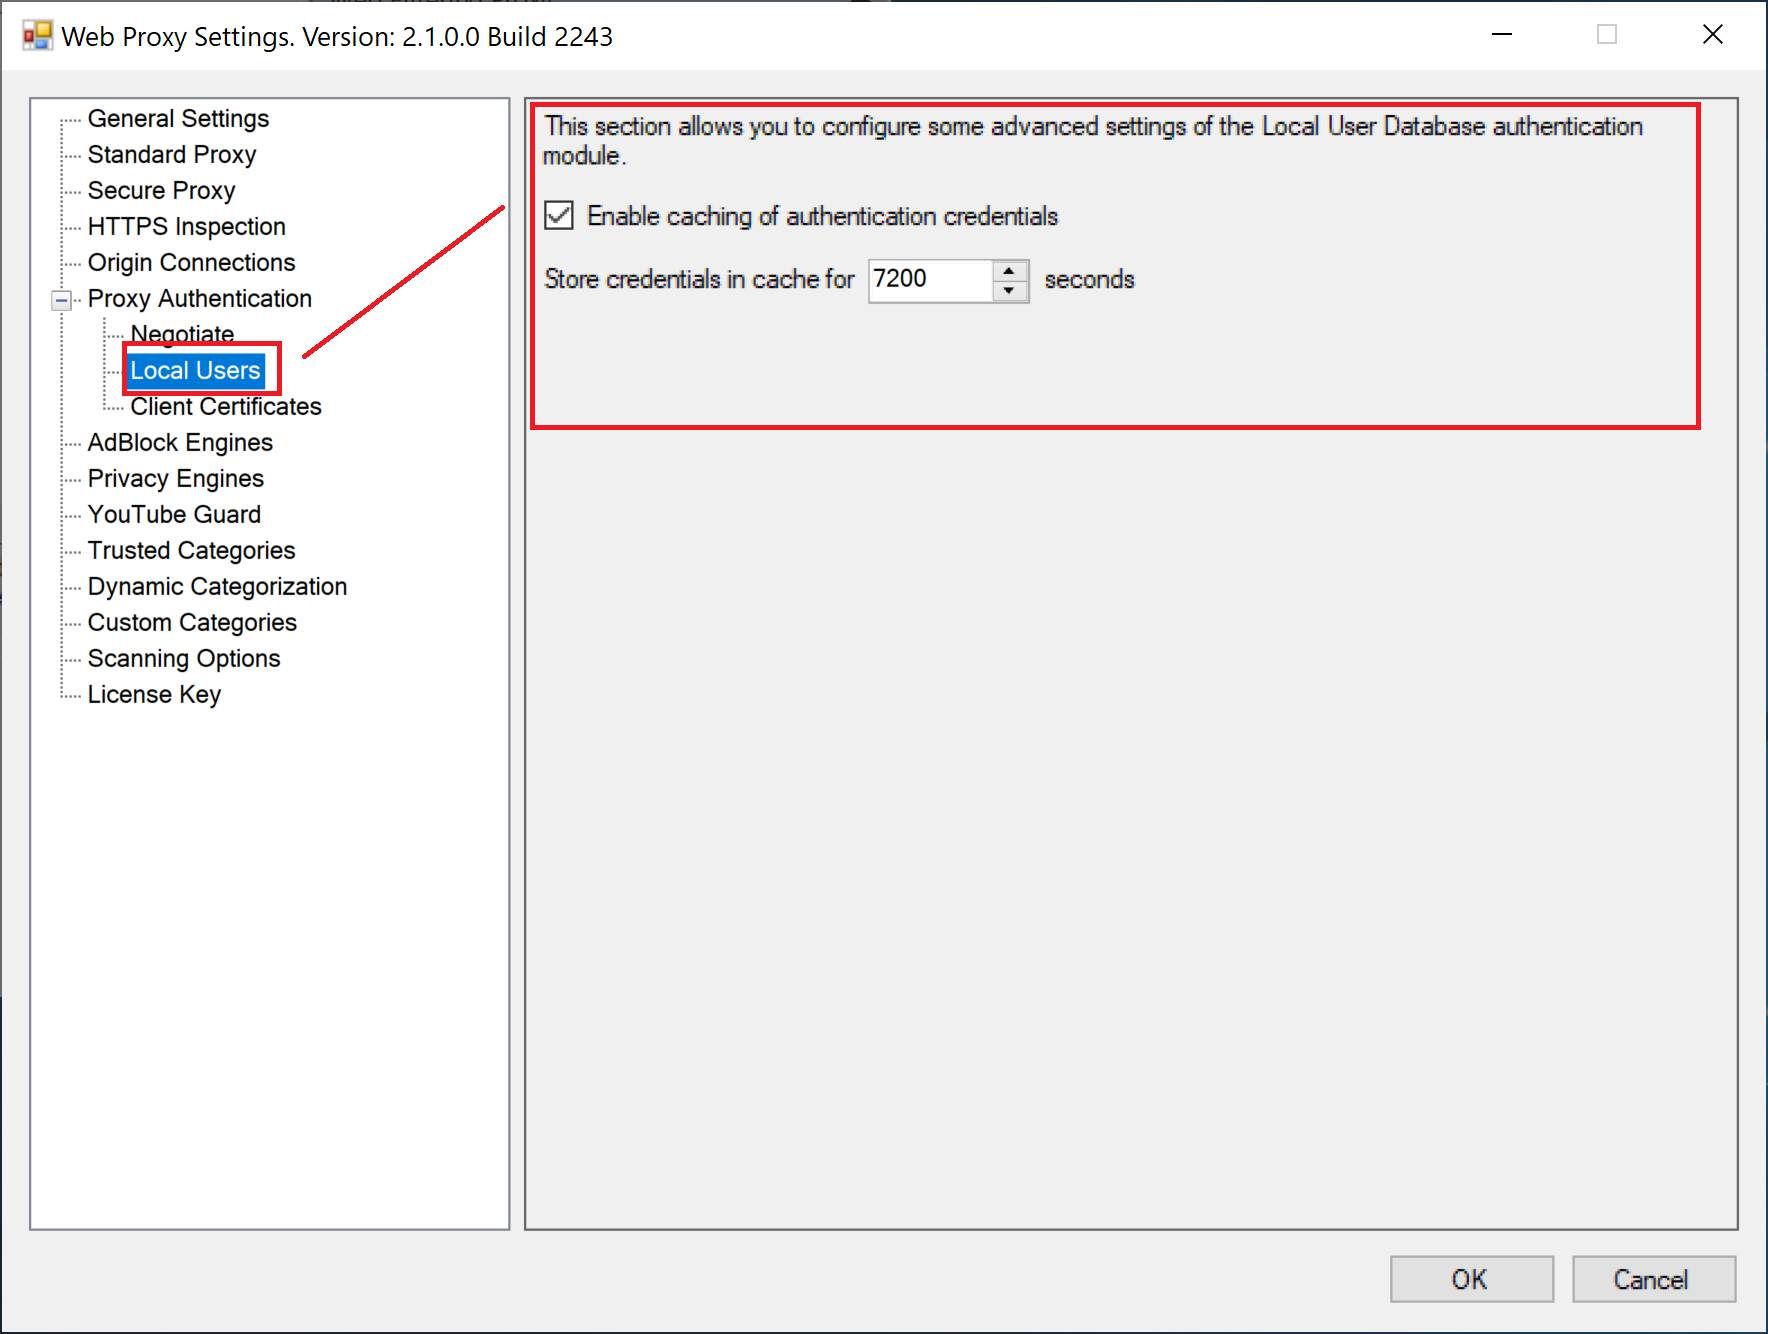
Credentials Caching
By default, results of the local users authentication are cached for 2 hours (7200 seconds). You can disable caching or adjust the caching time by clicking Proxy Settings / Proxy Authentication / Local Users node.
Do not forget to Restart the Web Filtering Proxy service in order for the changes to be applied.