Static IP and DNS Name
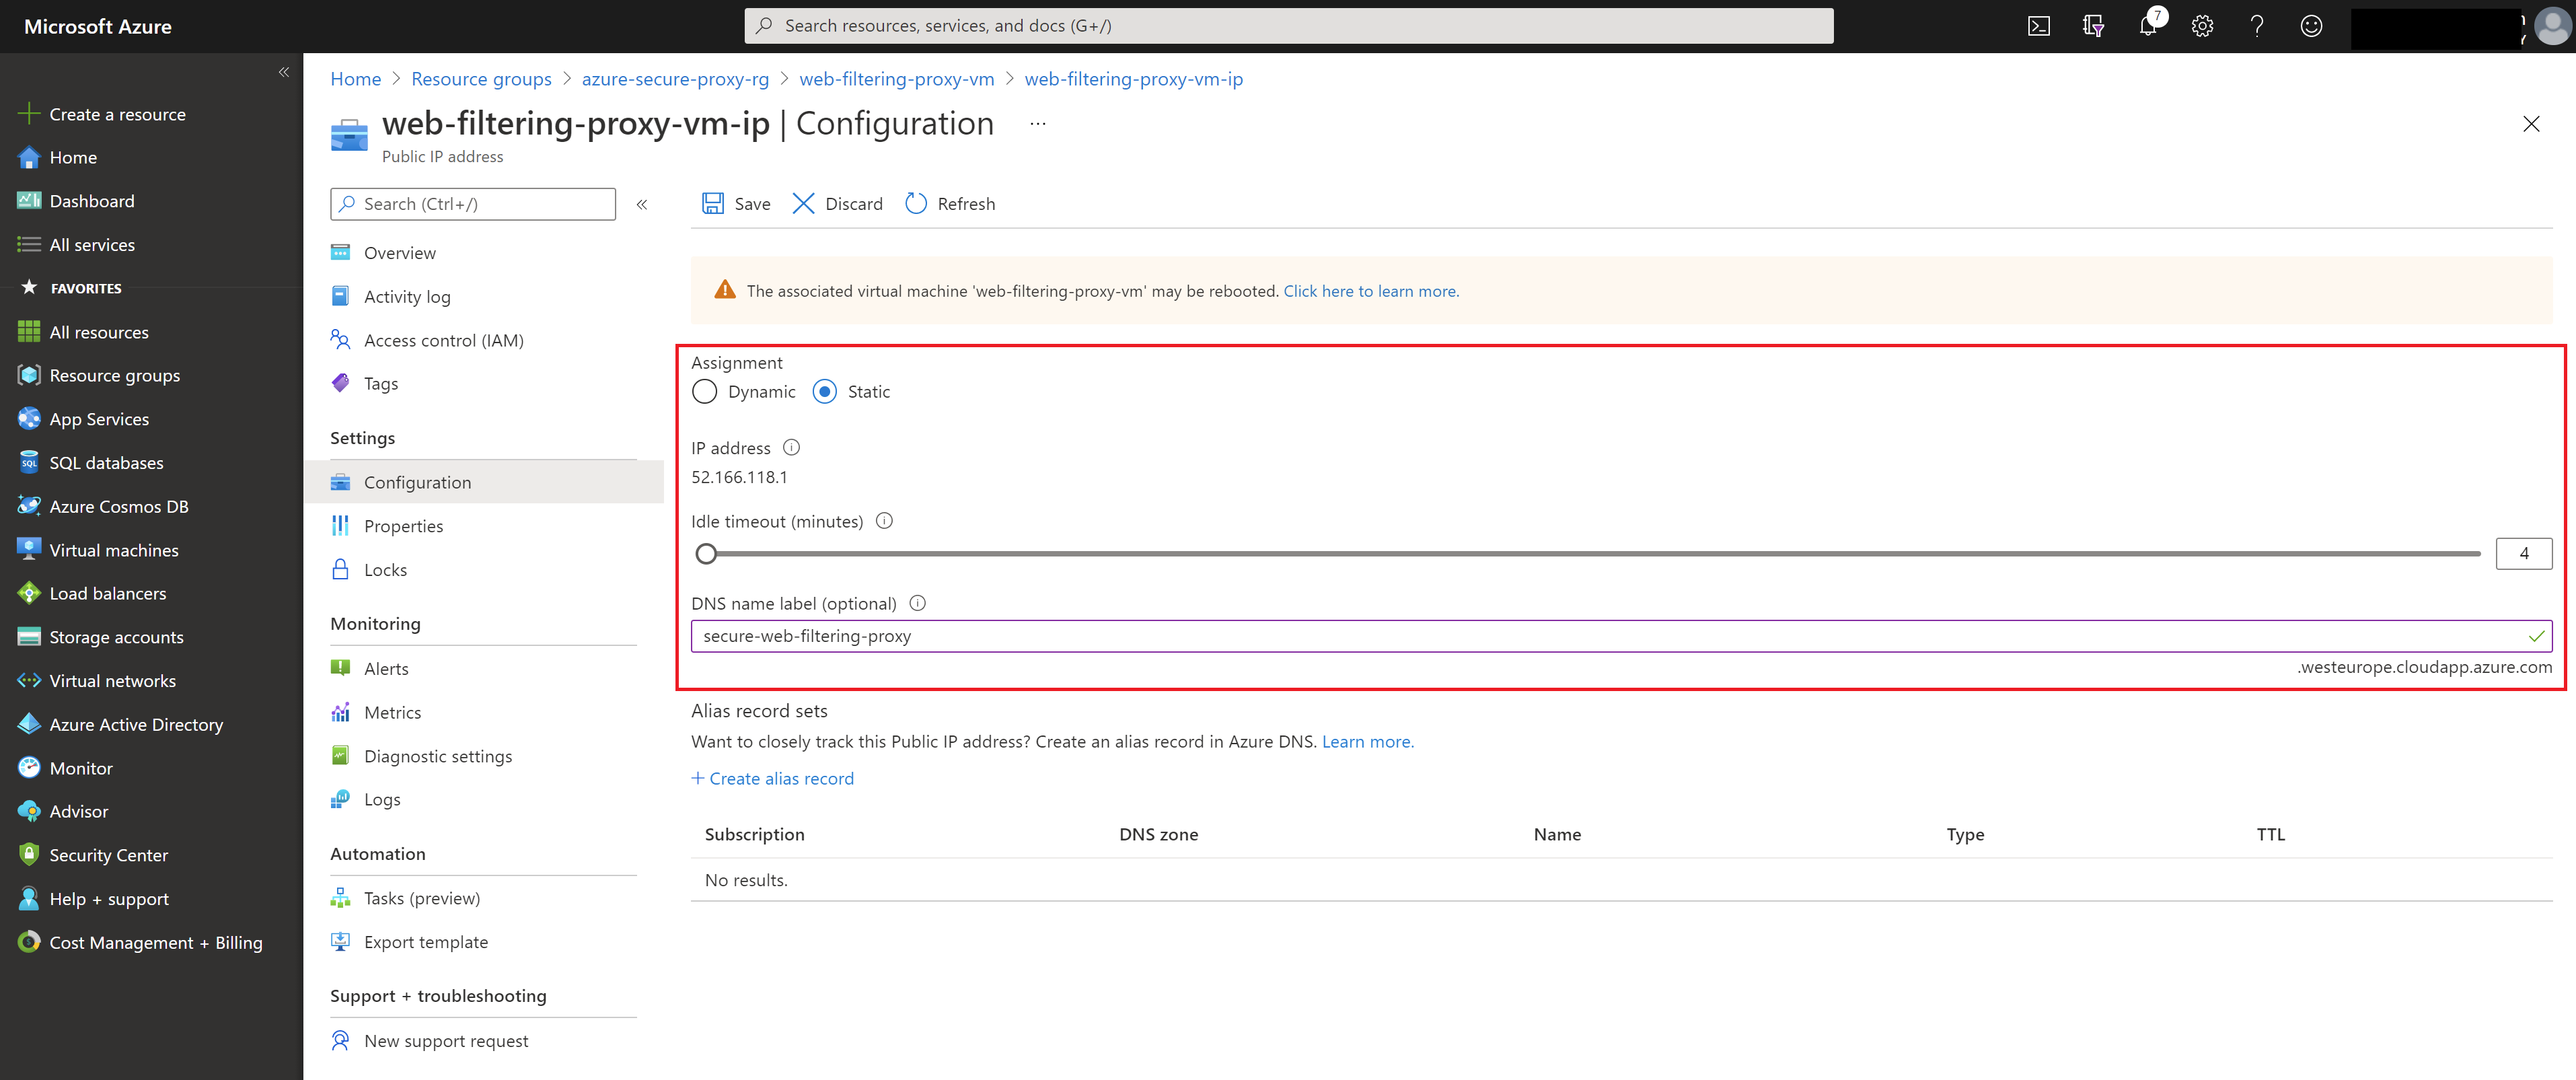
We now need to switch the IP configuration of our secure proxy from dynamic to static IP address. To do that open the web-filtering-proxy-vm-ip resource and set it as shown on the following screenshot. Note we are also setting the DNS name of our secure proxy to secure-web-filtering-proxy.westeurope.cloudapp.azure.com.
To verify the DNS name was successfully mapped to the public IP address run the following nslookup command on your admin host.
Microsoft Windows [Version 10.0.18363.1440]
(c) 2019 Microsoft Corporation. All rights reserved.

C:\Users\builder>nslookup secure-web-filtering-proxy.westeurope.cloudapp.azure.com
Server:  dns.google
Address:  8.8.8.8

Non-authoritative answer:
Name:    secure-web-filtering-proxy.westeurope.cloudapp.azure.com
Address:  52.166.118.1
We will use this domain name in the next steps of this tutorial in order to generate the secure proxy certificate.