Generate Trusted Root Certification Authority
In order to decrypt, inspect and re-encrypt HTTPS certificates of the origin servers the proxy needs to be configured with Root Certification Authority certificate and private key (we will call it Root CA for short further).
The Certification Authority part in the Root CA term means it is possible to sign the child site certificates with the private key. The Root part means the certificate is self-signed and must be explicitly trusted by the client. See this Wikipedia article for more information.
How to Generate the Root CA
You must always generate your own certificate/private key. There are various methods to do that.
Important / Danger
By default, there are sample Root CA certificate and private key included with the application which can be found in C:\ProgramData\Diladele\WebProxy\N.N\etc folder. We do not recommend using these files for HTTPS inspection because they are part of the installer and available to everyone. Trusting them will pose serious security risk!
Using Admin UI / Automatically
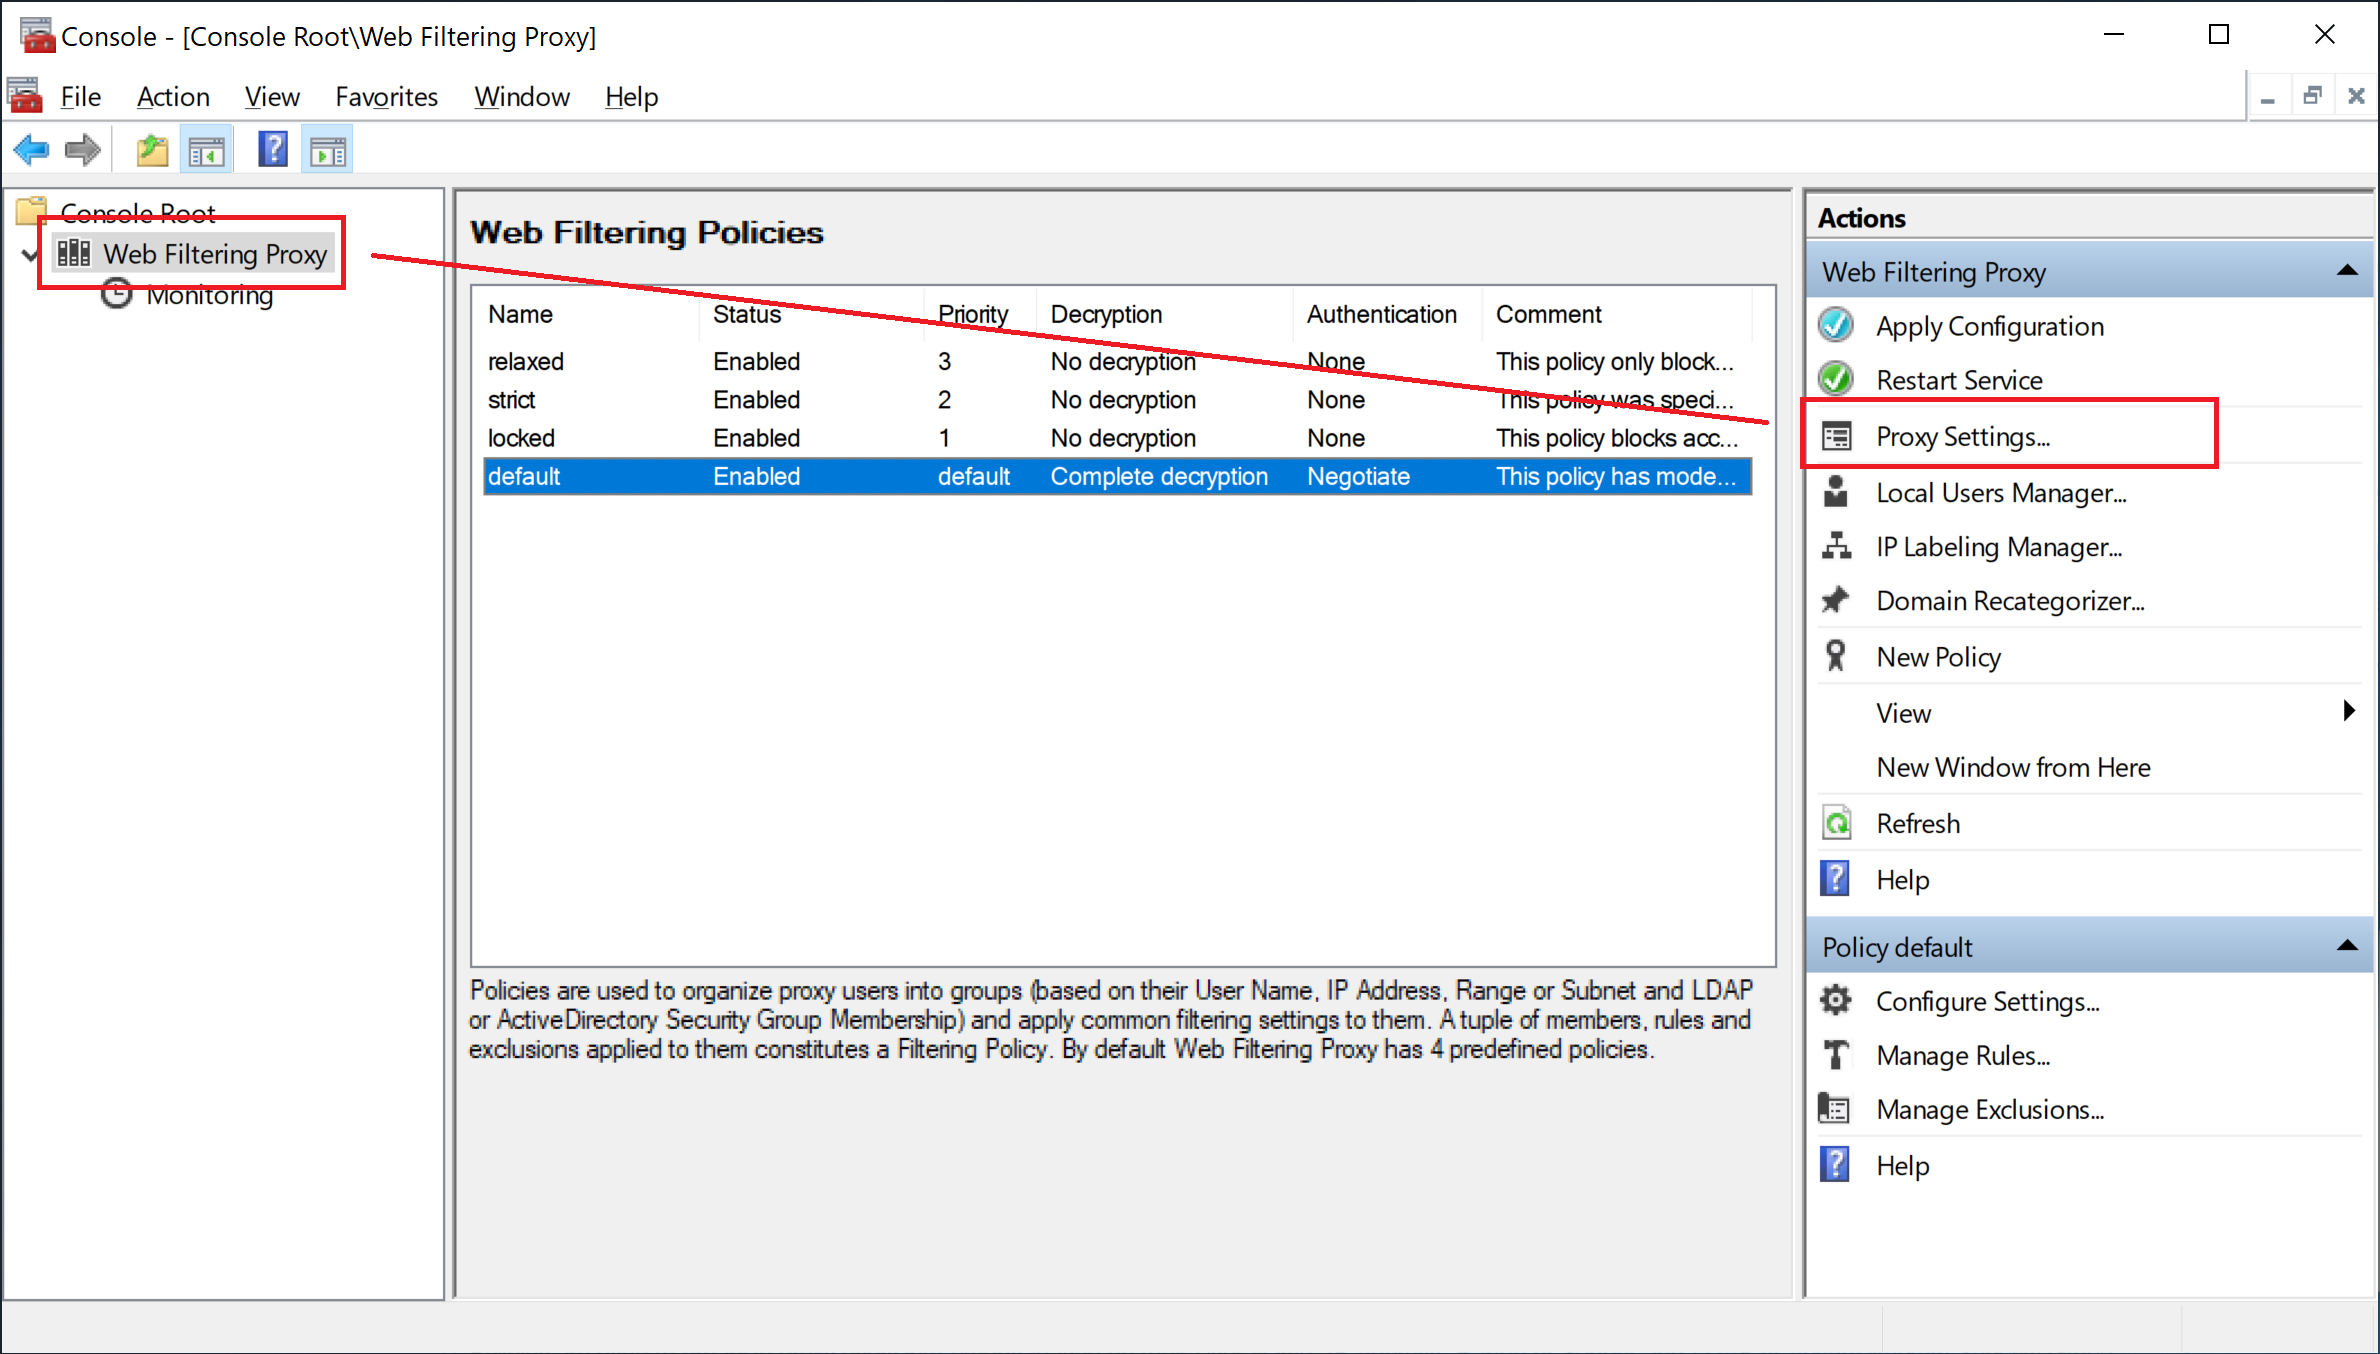
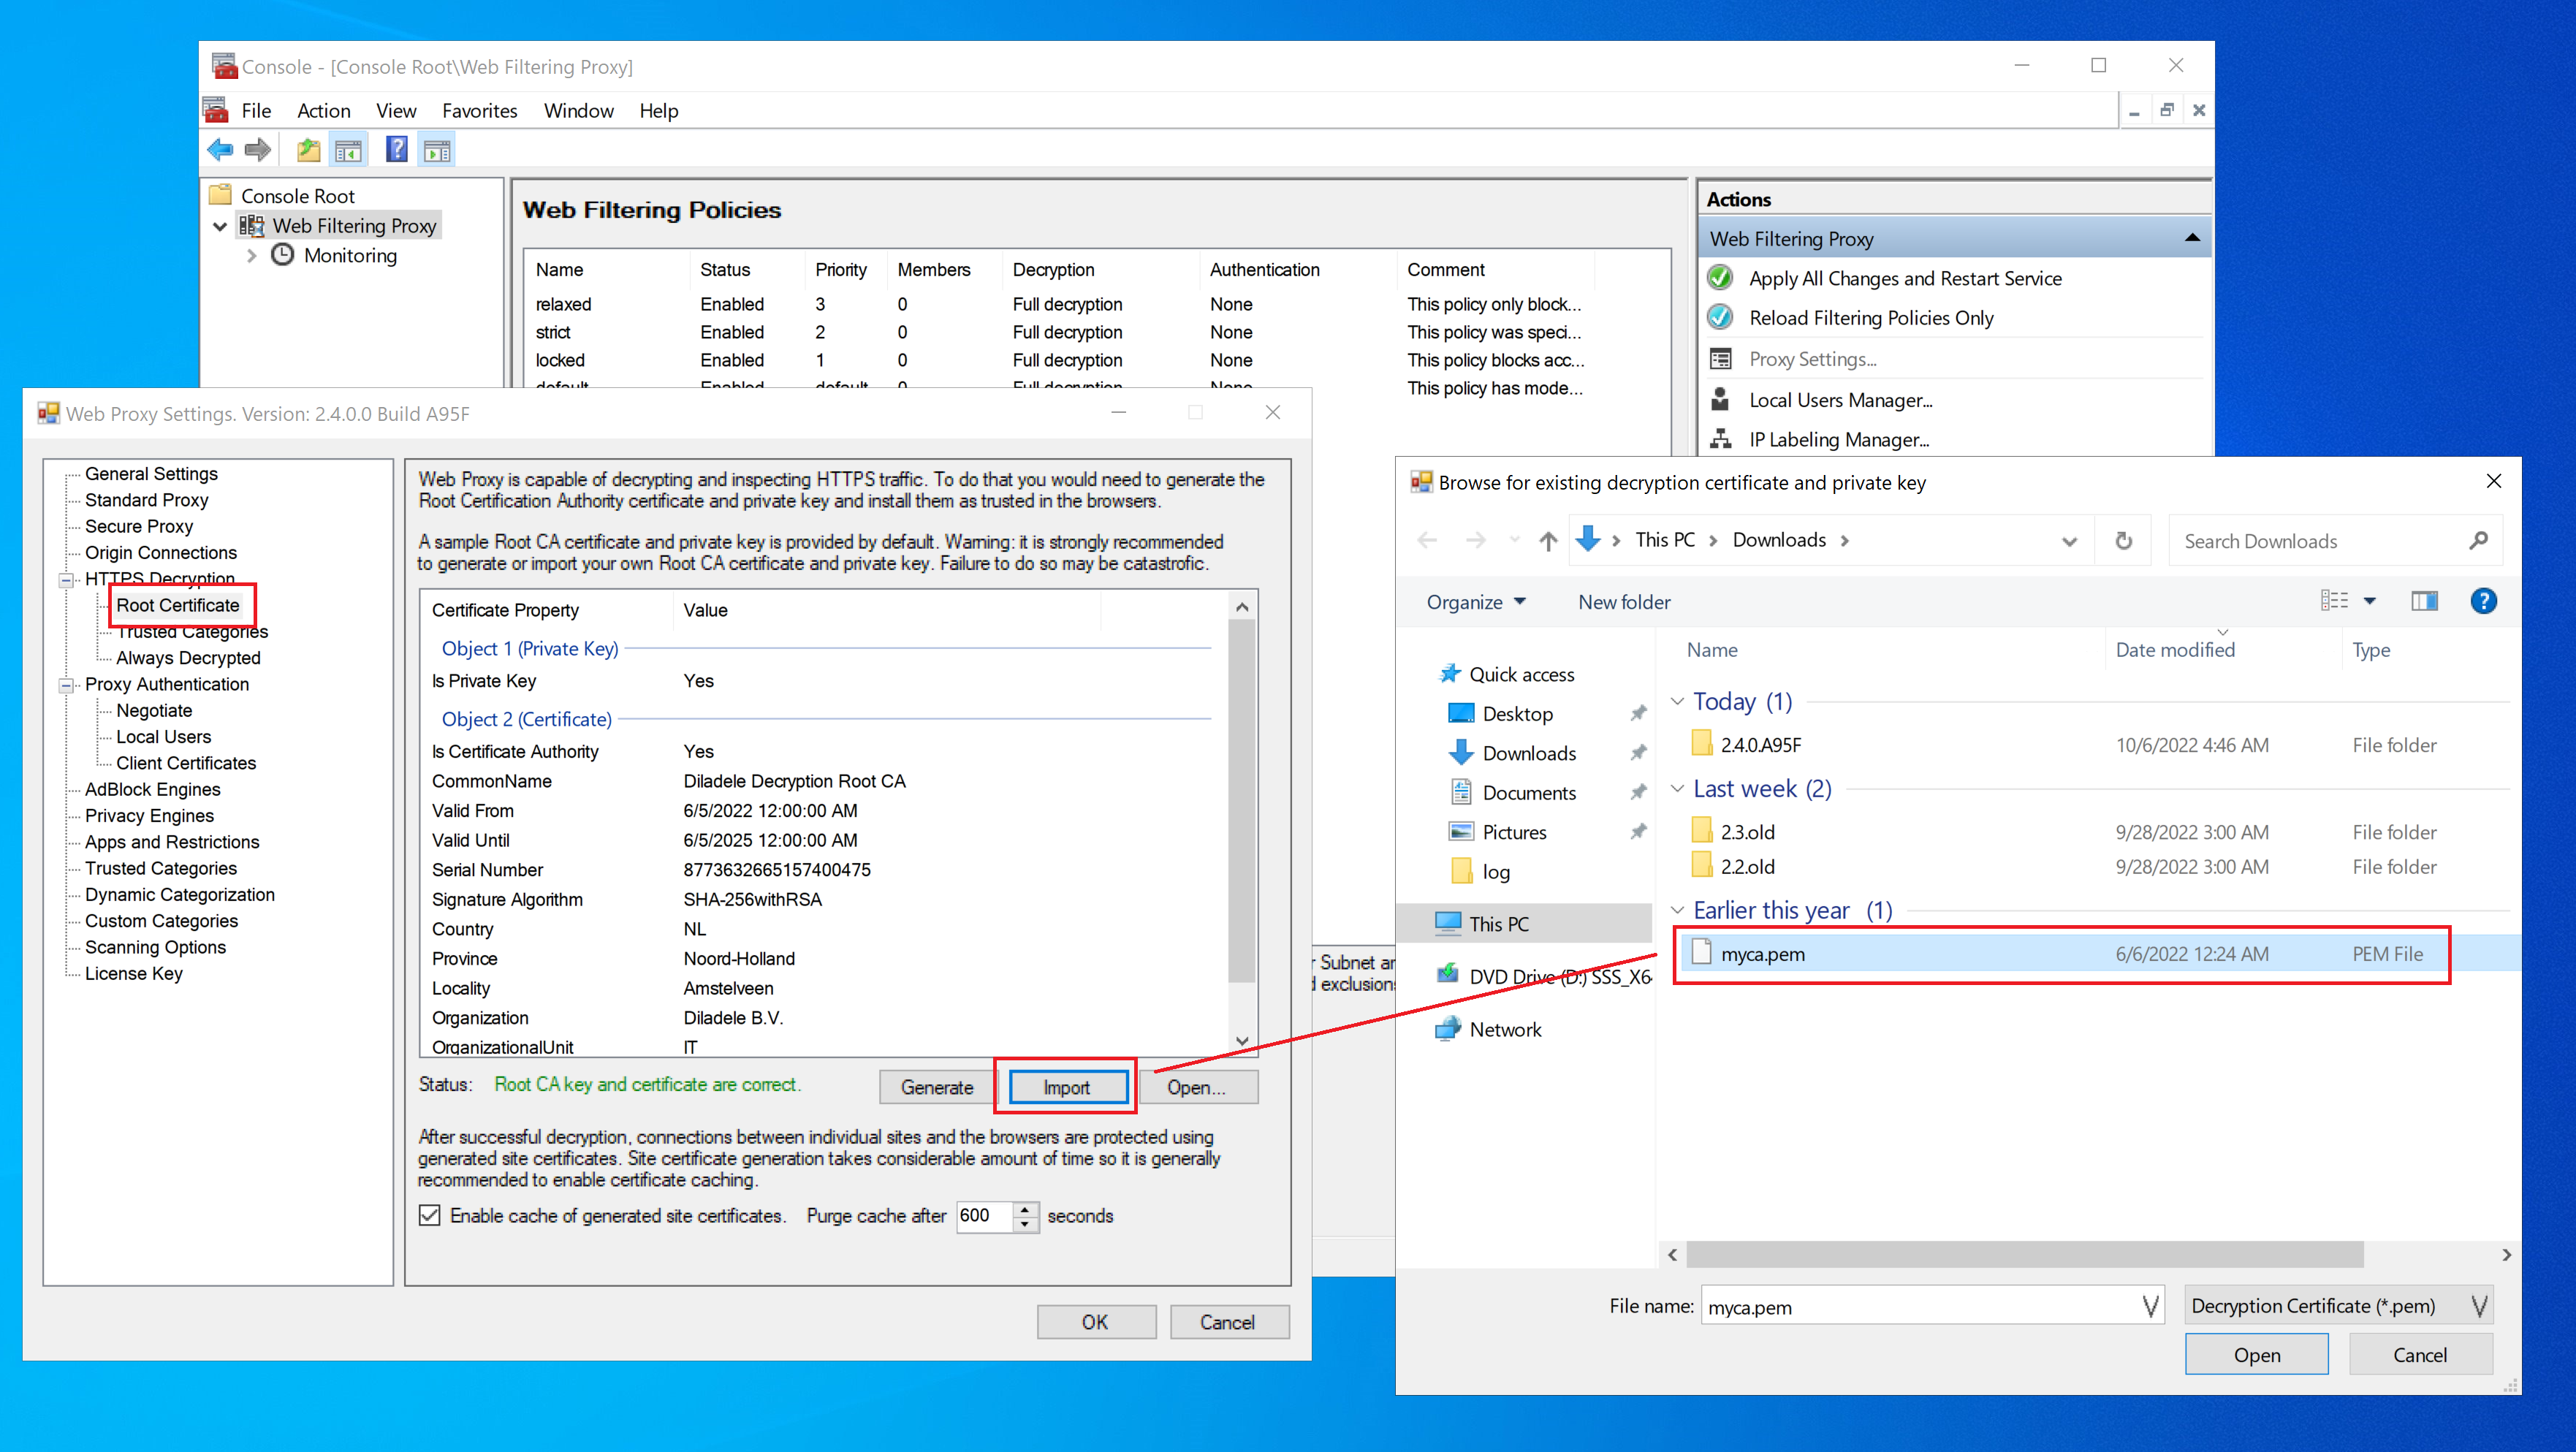
In order to generate the new Root CA certificate and private key, open Admin UI / Proxy Settings menu and select the HTTPS Decryption / Root Certificate page as indicated on the following screenshots.
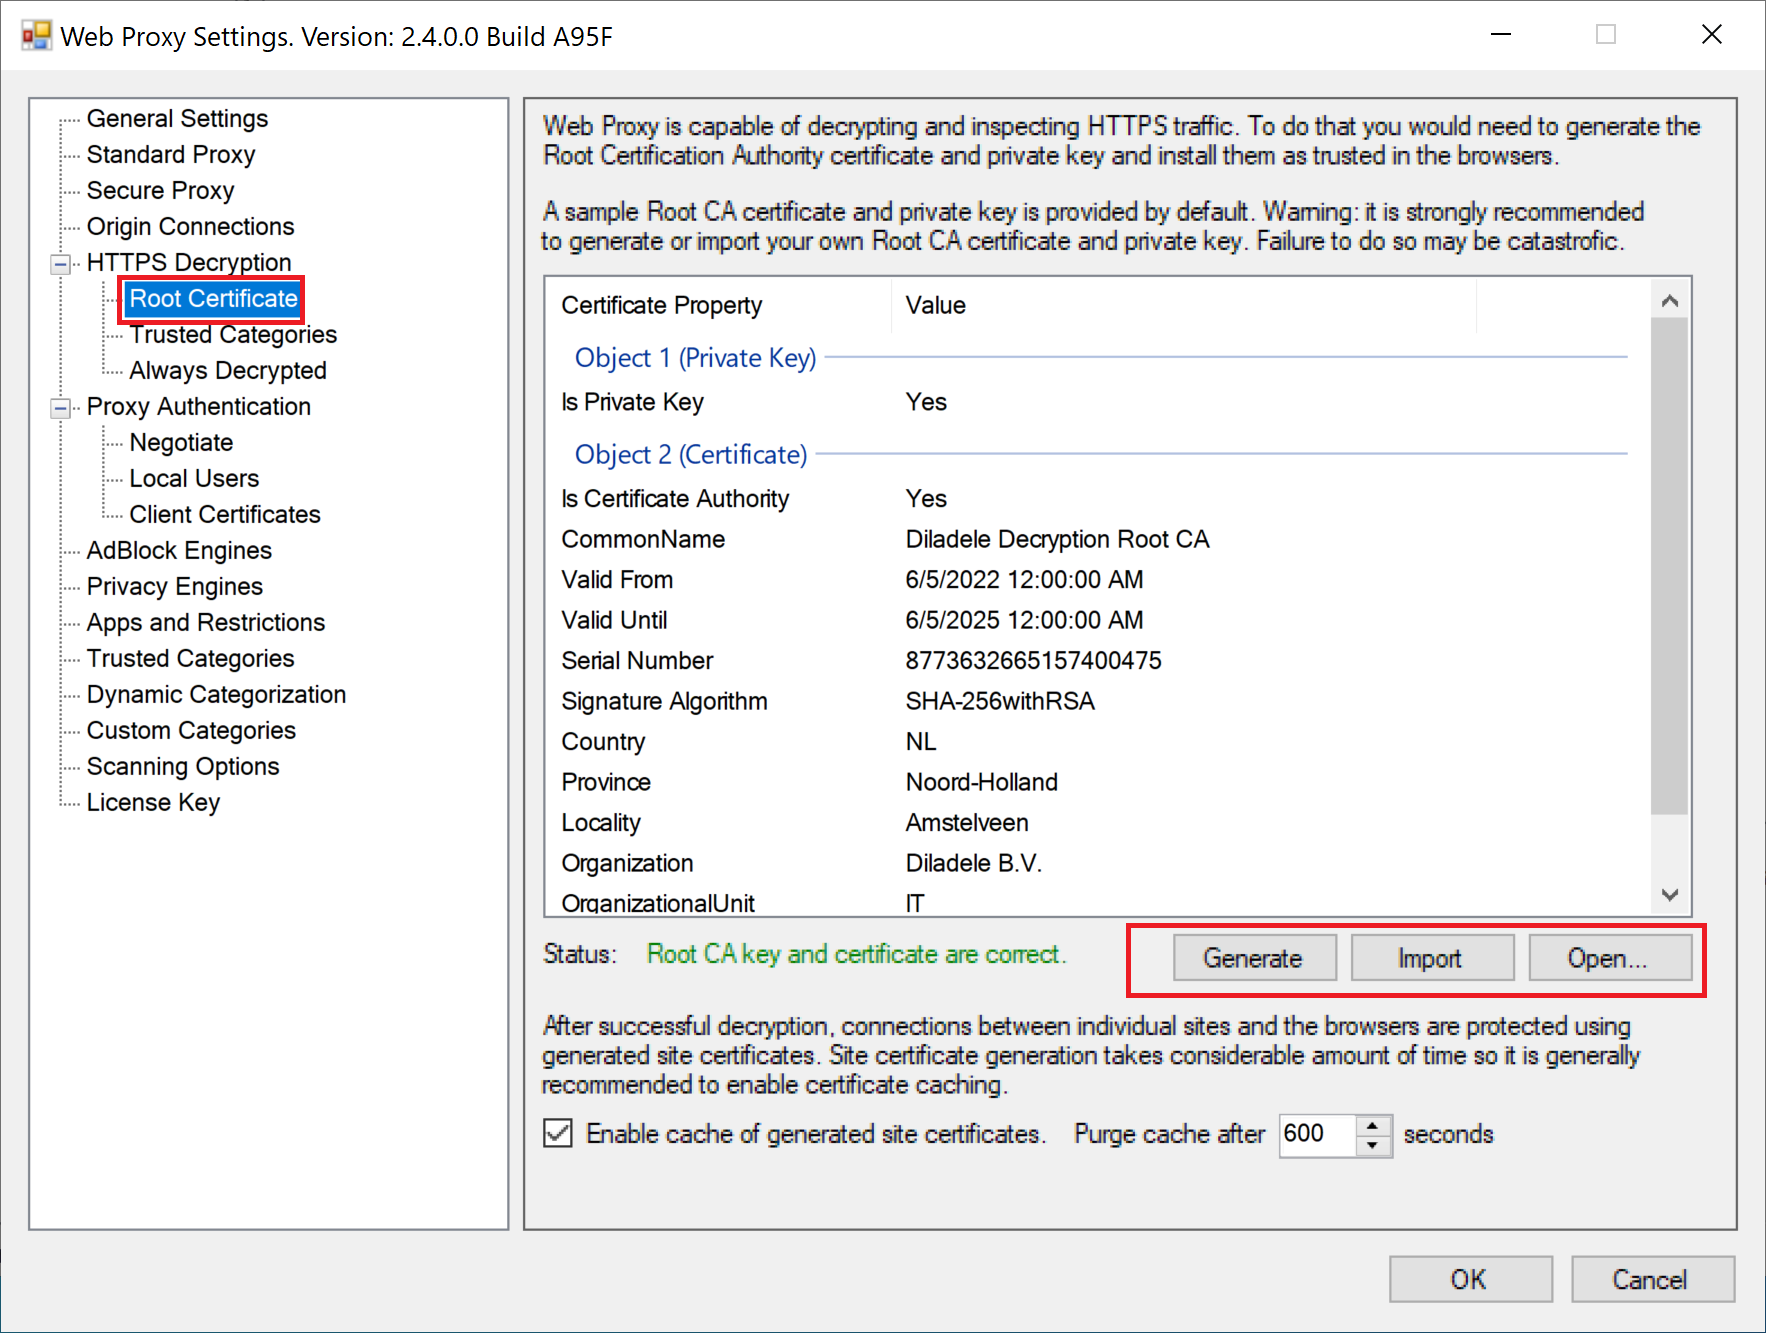
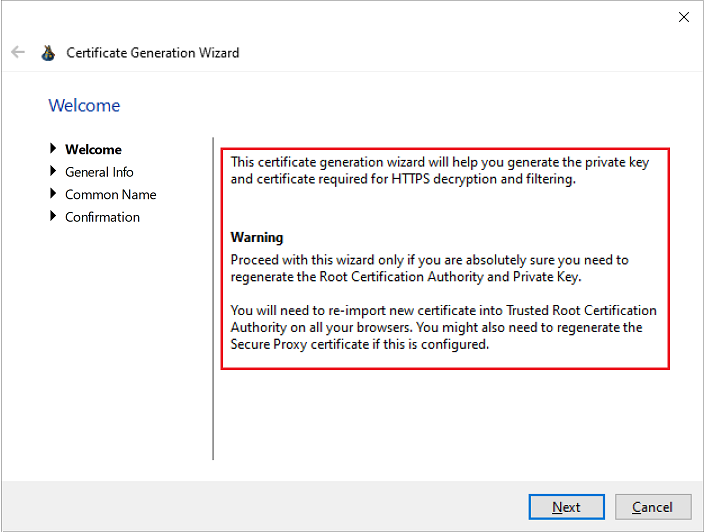
When you click on Generate button a Certificate Generation Wizard will be started. Be sure to read and understand informational text on all pages of the wizard before clicking Next.
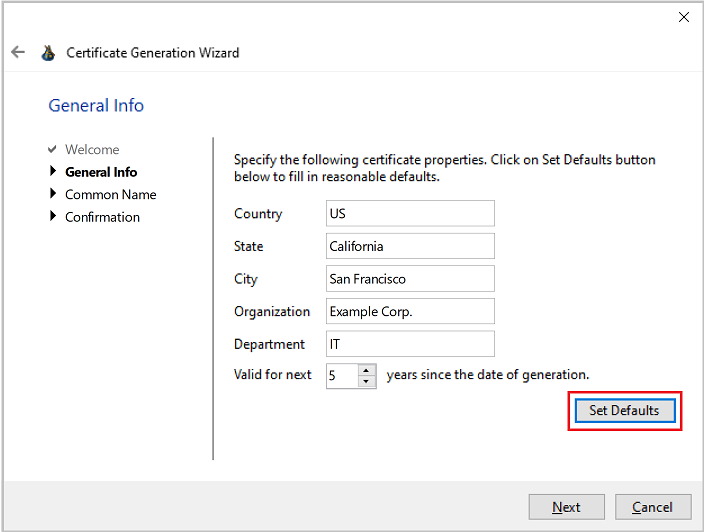
On the next page you can fill in the organizational details to be included into the generated certificate. To fill in the default values click Set Defaults button.
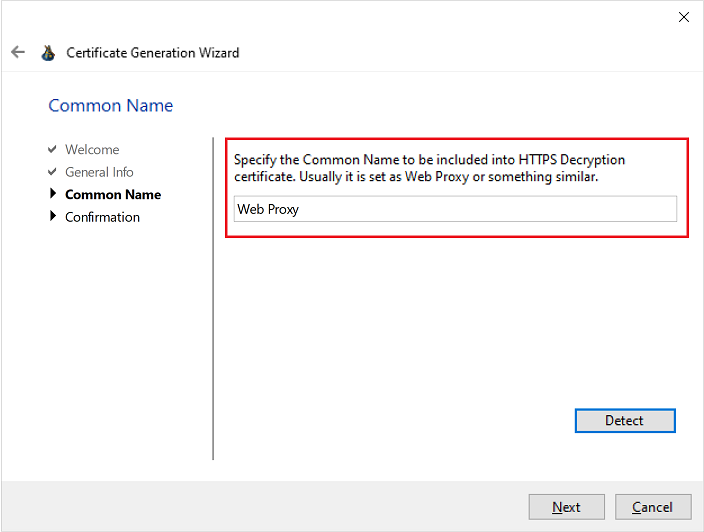
Finally, fill in the Common Name certificate attribute. If you click the Detect button below the Common Name will be set to Web Proxy string.
Click Next to actually generate it. A new self-signed Root CA certificate and private key will be generated and saved into C:\ProgramData\Diladele\WebProxy\N.N\etc\myca.pem and C:\ProgramData\Diladele\WebProxy\N.N\etc\myca.der files. See below for the description of what those files actually are and how they are used.
Using OpenSSL / Manually
You can also use the OpenSSL binary to generate the Root CA certificate and private key by running the following command on any Linux machine.
$ openssl req -new -newkey rsa:2048 -sha256 \
    -days 3650 -nodes -x509 -keyout myca.pem -out myca.pem
The generated myca.pem now needs to be imported into the Admin UI by clicking the Import button as indicated on the following screenshot.
Re-use Root CA of Web Safety
If you are also using our Linux based Web Safety filter and have trusted Root CA from it you can directly use it in Web Filtering Proxy too. See this article for more information. Just import the myca.pem file into the Admin UI as indicated on the earlier step.
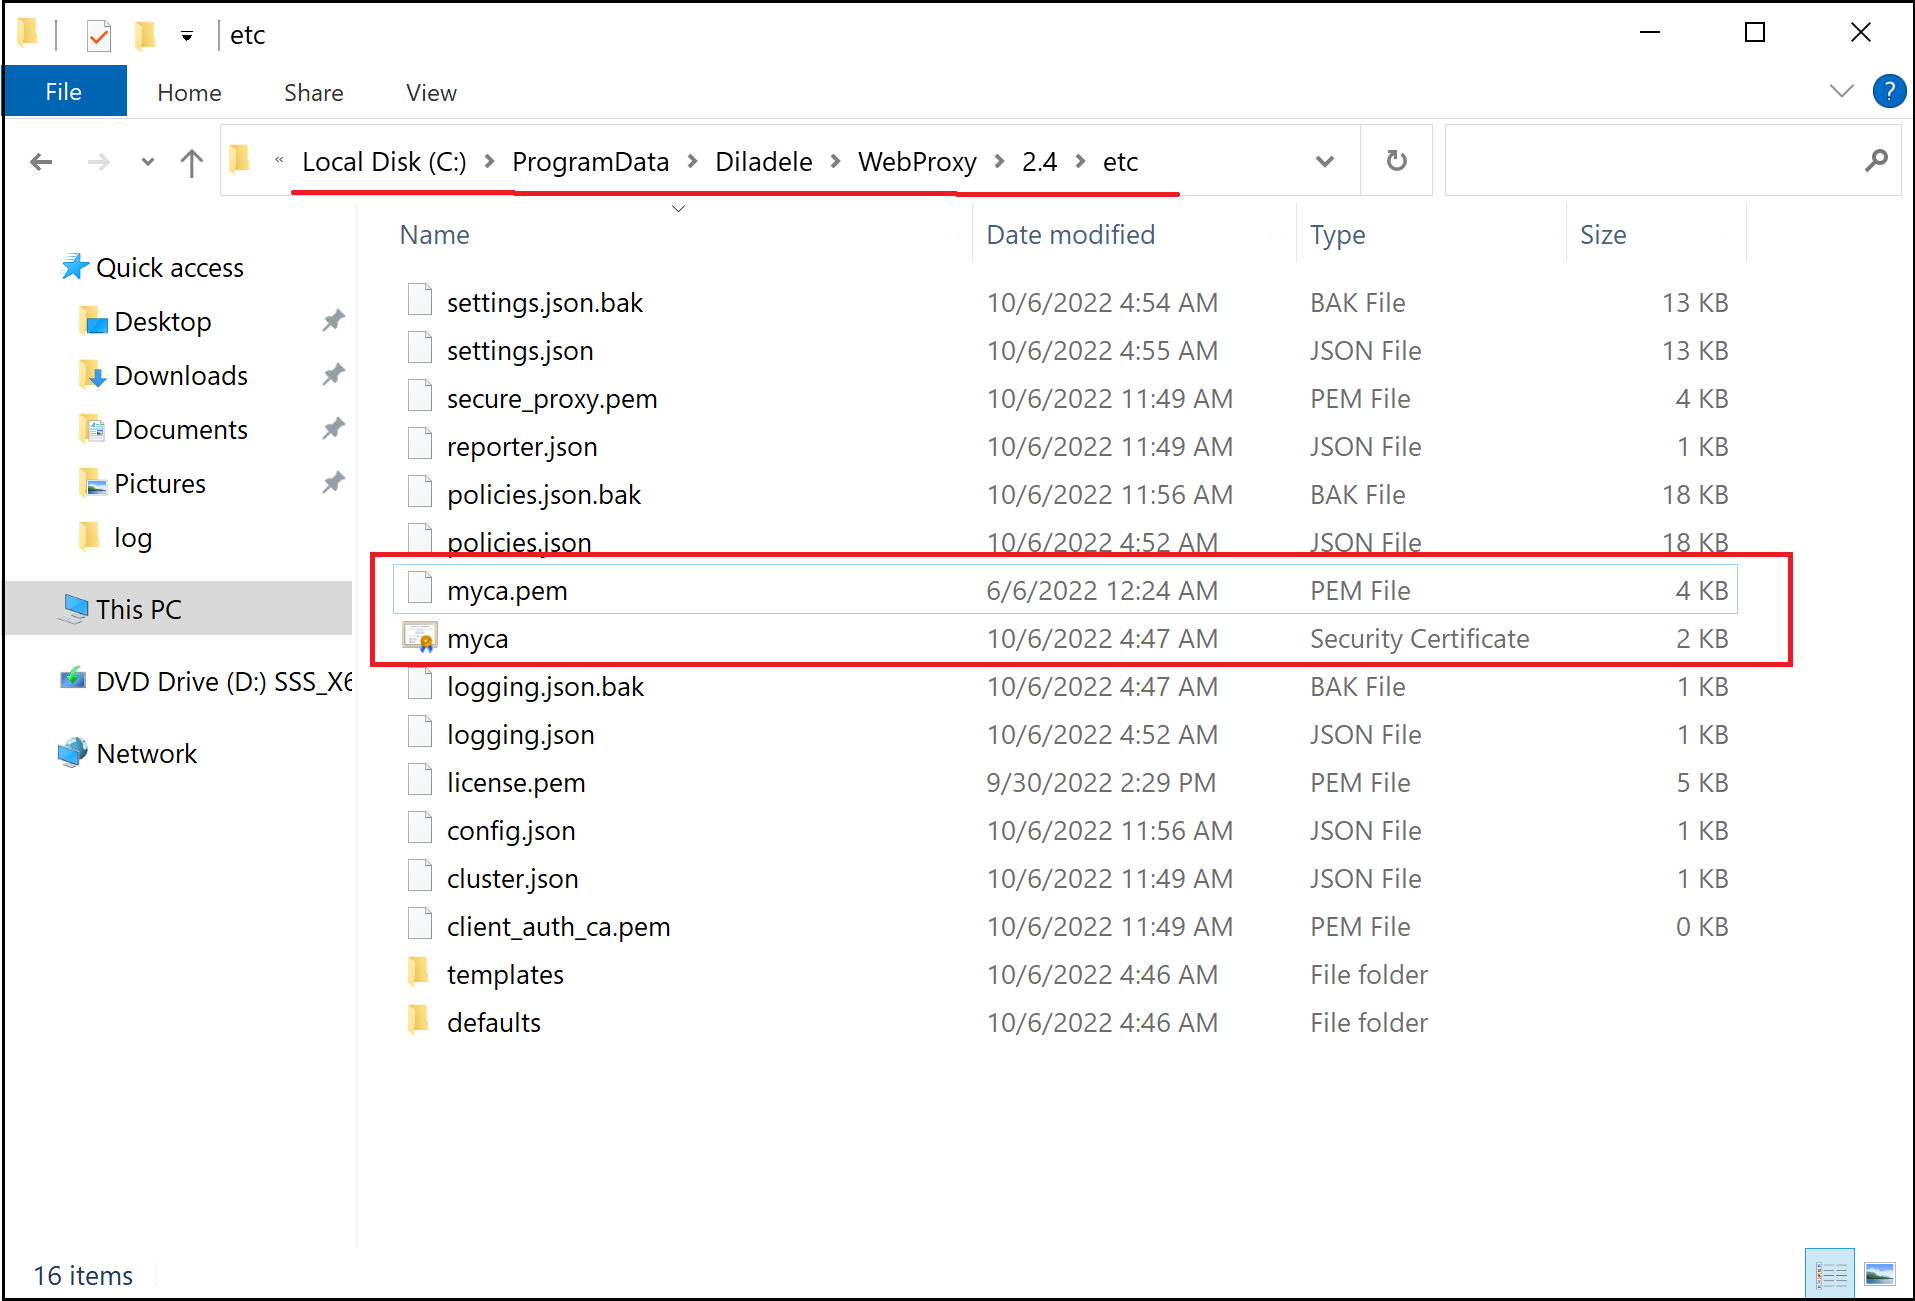
Root CA Files Explained
The generated or imported certificate and private key of the Root CA are stored as myca.pem and myca.der files in C:\ProgramData\Diladele\WebProxy\N.N\etc folder.
myca.pem
This file contains both the Root CA certificate and Root CA public key in PEM format appended together. This file shall be kept secret and should not be publicly available.
myca.der
This file contains the public Root CA certificate that needs to be installed in your browsers to make them trust the proxy. See the next article how to do that.